The following are some suggested steps to make the experience of getting your house on the market feel less daunting. They may not all work for everyone, but you can see what works for your specific situation. Disclaimer: my photos are not the best quality as we took them in the midst of moving! [TLDR at the bottom!]
Week 1 PACKING SUPPLIES
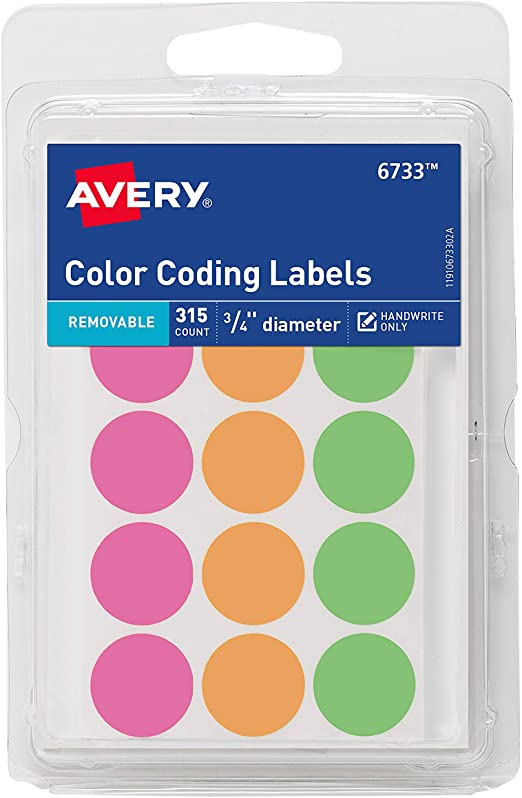
- STEP 1: Obtain* boxes, clear bins, packing tape, and sharpies. I purchased some really good boxes at Home Depot with built in handles, but a *pro tip* is to see if your Realtor knows of anyone looking to get rid of boxes. I also found a bunch of clear bins at Ocean State Job lot and Home Depot as well, but you can definitely find them elsewhere such as Lowe’s, Target, Walmart, Amazon etc. I recommend the majority of the boxes to be medium sized, next small, and only a few large since they are hard to carry. I also ordered colored dot stickers similar to these (see pic above), but in green, yellow and red. I used the green to label boxes that I needed to unpack first, yellow (or in this case orange) for second priority boxes, and red (or in this case pink) for boxes that did not need unpacking right away. (Think like a street light- green, yellow, red). Additionally I recommend getting some space saver bags (Bed, Bath and Beyond (and of course Amazon, Home Depot etc.) sells them- don’t forget your coups!) and some for hanging clothes.
- Step 2: Collect Packing Materials such as paper, bubble wrap, foam, glass dividers etc. You’ll need something to wrap up breakable items. Home Depot also sells a breakable moving kit.
- Step 3: Order or reserve some form of storage unit such as a Pod, *U- Box (from UHaul), Pack Rat or even a local moving company that will store your items for you in a climate controlled location. Alternatively, you can always rent a local storage unit (and possibly) some sort of transportation to get the bigger items there. [*A quick note about low hanging power lines – Our previous house had low hanging power lines across our driveway that did not allow enough clearance for a Pod or Pack Rat to be delivered. The U-Boxes were the only ones that could be delivered via forklift so that they did not need to raise the portable storage unit as high as the power lines to drop them off.]

You’ll want to have all of these supplies before you start so once you are ready, you can get things in boxes, into storage, and forget about them.
Week 2 DECLUTTERING
The ultimate goal here is two-fold; 1. get the house listing ready, and 2. start to get the house packed up so you’re ready to move when it sells. Declutter accomplishes both of these goals. Keep this in mind when you’re making those tough decisions about packing now or later.
START by going through your house and removing any personal items from the walls i.e.) family photos and pack them up. This is an easy first step that you can do quickly and feel like you’ve accomplished something. Only leave items that you will use when staging your house. If you expect that whatever you had hanging on the walls in your kitchen, will go directly to your new kitchen, then box those items up together and label that box KITCHEN (and the specifics of what’s inside). If you don’t know where you will hang things in your next home, box all wall hangings together. I recommend putting wall hangings in a cardboard box as usually this is one of the later/ last things you will unpack/ set up so you don’t need to see in inside the box.
Packing tips
- Pack things by room if you will unpack them and put them back in the same type of room OR pack things of similar categories if you don’t know where some things will go
- i.e. “Kitchen” OR “Wall Art”
- Be neat
- Label e.v.e.r.y.t.h.i.n.g.- you want to be able to look at a box and know exactly what’s inside
- Add colored dot stickers to color code your boxes for unpacking (Green for boxes to unpack first, yellow, second, and red boxes can wait to be unpacked)
- Use some dish towels or extra towels to wrap breakables- if you’re moving you likely don’t need to keep as many on hand as you normally would and this will help start to declutter your closets and drawers


Week 3 ROOM BY ROOM

- Start in a small room that you do not use a lot so that it does not feel overwhelming. The more tasks you finish, the more accomplished you’ll feel and the less daunting it will be.
- Dining Room – I started with my dining room because there was a lot of stuff in there that we do not use every day and since we were moving, we didn’t have plans to entertain a lot of people in the near future.
- Start in a room like this or a maybe a living room or guest room, for example. There is no use waiting to pack a room with infrequently used items. Plus since those boxes will be packed up first, they will be at the bottom of your storage unit and therefore unpacked last. Most likely these boxes can be color coded with a red dot sticker.
- Just start somewhere! Don’t get too bogged down in what to do first. Pack up as much as you can and really only leave out items that you use every day or will use to stage your house
- Remove furniture that clutters the space and get that into your storage. This will immediately start to make you feel like you have less to pack and make rooms look more open. We put shelves in our U-box that we wouldn’t be needing and this helped us organize the storage space.
- Kid/pet toys/Games– I am guessing there are many toys they don’t actually use. This is also a good place to get some things packed up early as they add mess and clutter. Use a clear bin if you’re not sure if you’ll need them so you can easily find those items later
- Linen Closet– this is another place to work on early. If you’re like me, you have a lot of extra towels, sheets etc. Just keep the bare minimum- you can always do laundry! Use space saver bags for all of these
- Bookshelves– You can probably remove most things from your book shelf, but if you run out of steam, this is an area you can at least try to stage nicely. Grouping by color always looks nice!

- Kitchen– the kitchen can feel really overwhelming because most of us spend the majority of our time in our kitchens and it’s hard to figure out what to pack and what you’ll need for the next few weeks. Here are some tips:
- Holiday dishes/ baking tins- pack those!
- Extra dishes- if you have more than one set, you definitely can do with just one set for a few weeks
- Dish towels- if you have a drawer full of these, keep half and use the other half to wrap dishes
- Serving ware- keep the bare minimum
- Pots and pans- chances are you can make do with one or two pots and one or two pans and you can pack away the really large ones you only use when you have a lot of people over
- Appliances- if you do not use them every day, pack them away- maybe these would be good boxes to label with a yellow dot sticker
- Wine/ specialized glasses- I know it might pain you, but you can use a different glass, if needed
- Non-perishable food- you may think you need access to your entire pantry, but trust me, you don’t! We survived without many of our snacks (and alcohol). Separate out the most commonly eaten ones and items you will need for a few weeks. Put everything else in a clear bin. You can leave this bin in the house, just in case, but at least now it’s packed and can go into storage or the garage or basement since it’s safe in these bins and it’s out of your way.
- A lot of the kitchen was coded in either green or yellow dots
- Clothes are another overwhelming category, but let me break it down for you! Think about which season you are in or even if you’ll be changing seasons, you will not need allll of your clothes. Pack the clothes that are not in season. You do not need them! Here are a few tips:
- Use space saver bags
- Pack your fancy clothes and shoes first. If you do have a fancy event coming up (we had a wedding), just set aside the items you need for that, otherwise you likely won’t need these items.
- Focus on things that are in your closet- again your goal is to make your home look decluttered and trust me, people do look in closets when they are looking at a house. A cluttered closet is a turn off for a buyer
- Pack shoes that are not in season- if it is summer, you do not need your winter boots!
- Next, focus on clothes in furniture that is adding clutter to your space.
- Use these clear ziplock bags, too so you can easily find what you’re looking for and they are easy to move and stack.

Keep your focus on those high-priority rooms that people care a lot about i.e. kitchen, bedrooms, and family room. You want the potential buyer to be able to picture living in your house and it’s hard to do that if they can’t see the room through all the clutter. Rooms like dining rooms and living rooms should have the bare minimum since those may be more formal spaces and you will hopefully be able to eliminate a lot from those space.
The above items that you packed can now go into your storage space and you can forget about them until you move into your new space. Hopefully, this will help your home look a bit less cluttered!
One last tip:
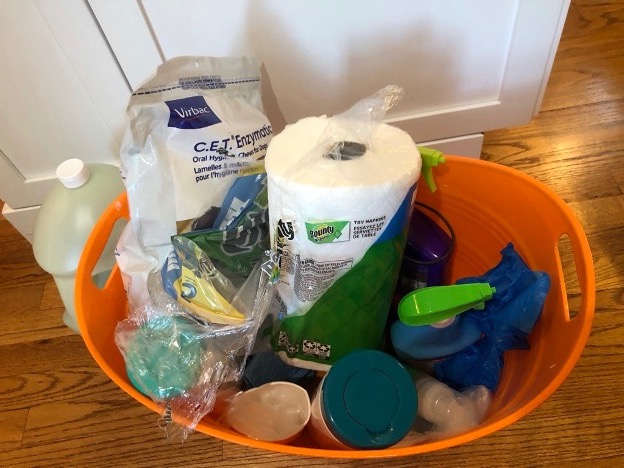
- First in/Last Out Box – I recommend making one (or more of these) and store in a clear plastic bin or even a plastic bucket. I had one that had cleaning supplies ; wipes, paper towels, soap, sponge, toilet paper, microfiber cloths, swiffers- everything I needed to clean the house we were selling and what we would need the second we walked into the house we were buying. This box i was able to pack right away, but leave handy. I also had one of these boxes with kitchen stuff; paper plates, forks, knives, spoons, a few dishes, glasses, olive oil, salt, pepper, a few kitchen utensils such as a spatula and a pot and pan, dog needs etc. . I packed up this box later, but kept a list of the items I would want readily available. These boxes traveled to the new house in my car.
I hope some of these tips are helpful or at least help you find a place to start! I followed these tips for my move and I had my house almost completely unpacked within a week. It made it very easy for me to prioritize what to start with and figure out where items were that I needed.
TLDR: Get packing materials and some sort of storage unit, start decluttering your space with rooms you don’t often use and items you will not be needing for a few weeks. Remove as much as possible, pack up and label everything!